Interactive Messages
2 minute read
Beginner
Interactive Messages are used by NGOs to create engaging and dynamic conversations with their beneficiaries. This feature helps NGOs to go beyond simple text-based notifications and include interactive elements like buttons, quick replies, list menus etc. It enhances the user experience through guided interactions and helps the NGOs collect cleaner data.
Video Tutorial
This video is recorded with the old Glific UI
Create Interactive Messages
1 . Login to Glific.
2 . From left menu list click on Quick tools and within it select 'Interactive msg` tab
3 . Click on +Create button on top right
4 . Once the 'Add a new Interactive message' page opens, enter the below details-
1) Type - Select the type of Interactive message you want to create
a) Reply buttons - choose this option, when you wamt to give upto 3 choices to the user
b) List Message - Choose this option, when numbers of choices given to user are more than 3 (but upto 10)
c) Location Request - Choose this option, when you want to request location from user through interactive message (button)
2) Title - Title of the interactive message for easy search in future (If you check the box below it, it will also be visible on top of the message for your user)
3) Message - The message content you want to send to the user
4) Footer - Add the message which you want to act like a subtext
5) The section next to Footer will differ based on the type of Interactive message selected.
a) Reply buttons -
i) Enter the Text of first button option.
ii) Click on + symbol and add text of the next button (and + again for 3rd button)
iii) Select the Attachment Type if you want to include an attachment.
iv) Enter Attachment URL to specify the URL of the attachment you want to include
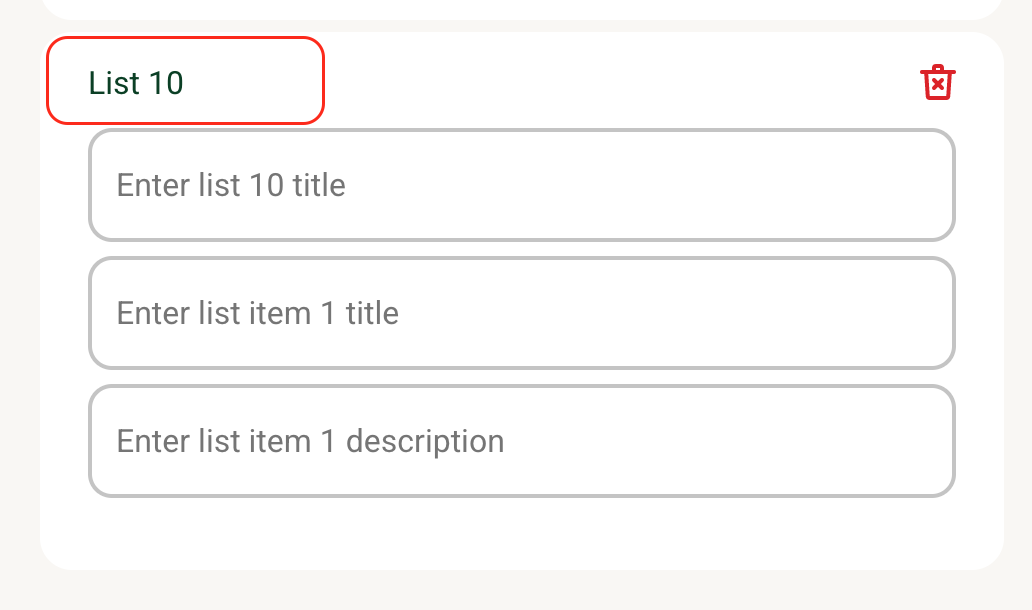
b) List message -
i) Enter List Header- this is the text that will appear on the list button (see preview on right tp understand better)
ii) Enter Title of List 1 (you can see in the preview below how list titles and list items will be presented to the users)
iii) Enter Title of List 1 item
iv) Enter List Item description.
v) Click on Add list item option to add another list item
vi) Click on Add list option to add another list.
vii) Select the Attachment Type if you want to include an attachment.
viii) Enter Attachment URL to specify the URL of the attachment you want to include
c) Location request -
Add the message you want to send along with the 'Send Location' button
6) Tag - Create/ Select a tag so that it is easy to categorize/ search in future
Use Interactive Messages in Flow editor
1 . Create a flow.
2 . While adding a new node, select Send the contact an interactive message action type.
3 . Use dropdown to select the interactive message that you had previously created.
4 . Click Ok.

Sample flow with Interactive Messages.

Output on chat - how it looks post execution.


Use Interactive Messages in different languages.
Please follow below steps to create Interactive Messages in different languages.
1 . Click on the Edit icon to open the interactive message you have to create in default language.

2 . Click on the language link from top right to add content in the specific language. In this example we are taking Hindi as a language

3 . Enter the translated text in the fields
a) Title
b) Message
c) Reply button / List buttons details

4 . Click on SAVE button.

5 . The language specific interactive message will execute automatically for the contacts who has set that specific language in their profile.


Reference Article
Sending Interactive Messages - Meta Developer Docs
Note
- Interactive messages once created either in the form of Quick replies or List, cannot be changed.
- Markdown characters (*, _ , i) are NOT allowed in Header and Buttons of interactive messages. It throws error "Character policy violated" (refer the screenshot below)

- Emojis are NOT allowed in the title field of interactive messages. Please avoid using emojis in the title field.

- If emojis are used in buttons/responses OF Interactive Messages, please make sure to copy and paste the whole string along with emojis from interactive messages and paste it on
Wait for response. You need to usehas only the phraseoption inwait for responseto match the whole string for valid response.

- A maximum number of Quick Replies and List items are allowed by WhatsApp in the Interactive messages.
Quick Replies - Maximum 3 Quick replies are allowed.

List items - Maximum of 10 List items are allowed.